-17%
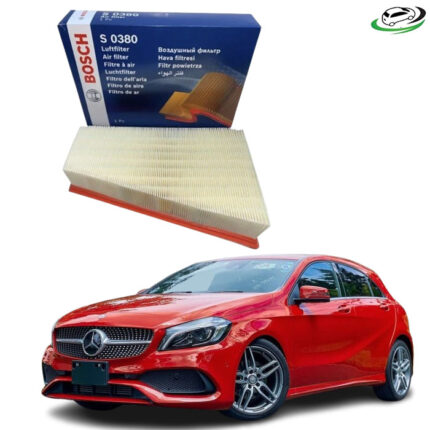
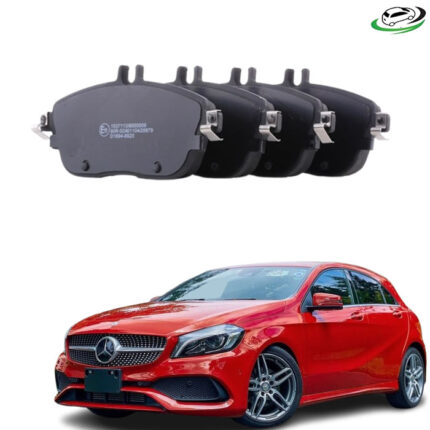
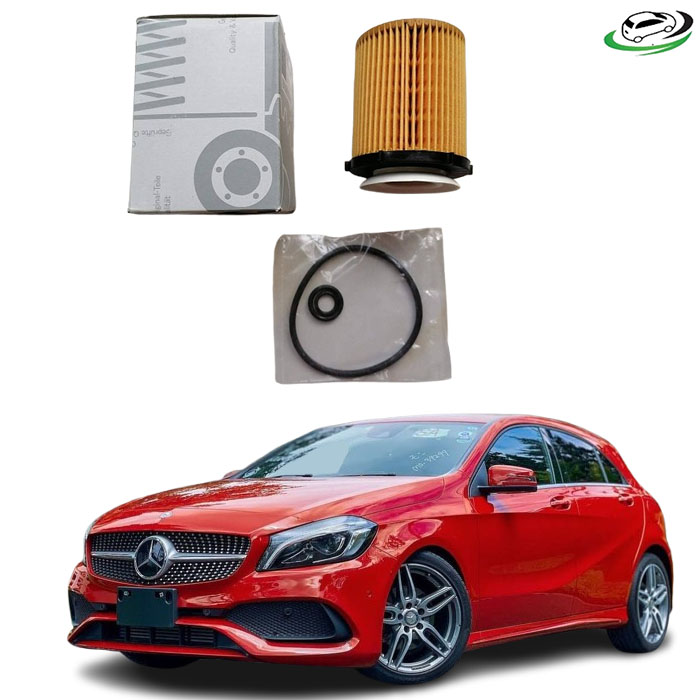
Get Mercedes Benz A180 W176 Oil Filter Assy A2701800009 in Kenya
The oil filter assembly is a vital component of a vehicle’s lubrication system, ensuring that the engine oil remains clean and free of contaminants. Engine oil plays a crucial role in lubricating engine parts, reducing friction, and preventing premature wear. However, as oil circulates through the engine, it picks up dirt, metal particles, and other impurities. The oil filter assembly removes these contaminants, preventing engine damage and extending the lifespan of both the oil and the engine itself.
A properly functioning oil filter assembly is essential for optimal engine performance, fuel efficiency, and longevity. In this comprehensive guide, we will explore the function, components, types, benefits, maintenance, and replacement of the oil filter assembly.
What Is an Oil Filter Assembly?
The oil filter assembly consists of the oil filter element and its housing or casing, which is designed to securely fit within the engine’s lubrication system. The assembly ensures that all the engine oil passes through the filter before reaching critical engine components.
The primary function of the oil filter assembly is to trap contaminants, such as carbon deposits, metal shavings, and sludge, preventing them from circulating in the engine. This ensures that only clean oil is used for lubrication, which reduces wear and improves engine performance.
How Does an Oil Filter Assembly Work?
The oil filter assembly works as follows:
- Oil Circulation: The engine oil is drawn from the oil sump and pumped through the filter before being sent to various engine parts.
- Filtration Process: The oil enters the filter housing and passes through the filter element, which traps impurities.
- Clean Oil Flow: The filtered oil exits the assembly and continues circulating through the engine.
- Bypass Valve (if applicable): If the filter becomes clogged, a bypass valve allows oil to flow directly into the engine to prevent oil starvation.
Components of an Oil Filter Assembly
An oil filter assembly consists of several key components:
1. Filter Element
- The core part of the oil filter that traps contaminants.
- Made from cellulose, synthetic fibers, or a combination of both.
2. Filter Housing
- A metal or plastic casing that encloses the filter element.
- Designed to withstand high pressure and temperature variations.
3. Anti-Drain Back Valve
- Prevents oil from draining out of the filter when the engine is turned off.
- Ensures instant lubrication upon startup.
4. Bypass Valve
- Allows unfiltered oil to flow to the engine if the filter becomes clogged.
- Prevents oil starvation, which could lead to severe engine damage.
5. Sealing Gasket
- Provides a secure seal between the oil filter and the engine block.
- Prevents oil leaks and ensures efficient filtration.
Benefits of an Oil Filter Assembly
1. Protects the Engine from Contaminants
- Prevents dirt, metal particles, and sludge from circulating in the engine.
- Reduces wear and extends engine life.
2. Improves Lubrication Efficiency
- Ensures that only clean oil is used for lubrication.
- Reduces friction between moving parts, preventing premature wear.
3. Enhances Engine Performance
- Clean oil allows for smooth operation and better fuel efficiency.
- Prevents clogging and overheating.
4. Prolongs Oil Life
- Keeps oil cleaner for a longer time, reducing the need for frequent oil changes.
- Saves money on maintenance costs.
5. Reduces Harmful Emissions
- Clean oil helps in efficient combustion, reducing carbon buildup.
- Contributes to lower exhaust emissions and better environmental performance.
Types of Oil Filters
1. Full-Flow Oil Filters
- The most common type used in passenger vehicles.
- Filters all the oil before it reaches engine components.
2. Bypass Oil Filters
- Used in heavy-duty applications.
- Filters a small portion of the oil at a time for finer filtration.
3. Cartridge Oil Filters
- Consist of a replaceable filter element without a metal housing.
- Environmentally friendly and used in modern vehicles.
4. Spin-On Oil Filters
- Have a metal housing with a built-in filter element.
- Easy to replace but generate more waste.
5. Magnetic Oil Filters
- Use magnets to attract metal particles in the oil.
- Often used in combination with traditional filters.
When to Replace the Oil Filter Assembly
The oil filter should be replaced at regular intervals to ensure clean oil circulation. General recommendations include:
- Every 5,000 to 10,000 miles (8,000 to 16,000 km) depending on the vehicle and oil type.
- With every oil change, as recommended by most manufacturers.
- More frequently in harsh conditions, such as off-road driving or stop-and-go traffic.
Signs That Your Oil Filter Needs Replacement
- Dirty or Dark Oil: If the oil appears excessively dirty, the filter may not be functioning properly.
- Low Oil Pressure Warning: A clogged filter can restrict oil flow, causing low oil pressure.
- Poor Engine Performance: Increased friction due to dirty oil can reduce engine efficiency.
- Unusual Engine Noises: Ticking or knocking sounds may indicate poor lubrication.
- Excessive Exhaust Smoke: Dirty oil can cause incomplete combustion, leading to smoke emissions.
How to Replace an Oil Filter Assembly
Step 1: Gather Necessary Tools
- New oil filter assembly
- Oil filter wrench
- Drain pan
- Engine oil (if performing an oil change)
Step 2: Locate the Oil Filter
- Check the vehicle’s manual for the oil filter location.
- Typically found near the engine block or oil pan.
Step 3: Drain the Old Oil (If Changing Oil)
- Place the drain pan under the oil pan.
- Remove the oil drain plug and allow the oil to drain.
Step 4: Remove the Old Oil Filter
- Use an oil filter wrench to loosen the filter.
- Be prepared for some oil to spill.
Step 5: Install the New Oil Filter
- Apply a thin layer of oil to the new filter’s gasket to ensure a good seal.
- Screw in the new filter by hand and tighten it securely.
Step 6: Refill with New Oil
- Replace the oil drain plug if it was removed.
- Fill the engine with fresh oil according to the manufacturer’s specifications.
Step 7: Check for Leaks and Test the Engine
- Start the engine and let it run for a few minutes.
- Check for leaks around the oil filter and drain plug.
Maintenance Tips for Oil Filters
- Change the Oil Filter Regularly – Do not exceed recommended intervals.
- Use High-Quality Oil Filters – Cheap filters may fail prematurely.
- Check for Leaks After Replacement – Ensure a tight seal to prevent oil leaks.
- Monitor Oil Pressure – Sudden drops may indicate a clogged filter.
- Follow the Manufacturer’s Guidelines – Always use the recommended filter type for your vehicle.
Common Myths About Oil Filters
Myth 1: You Don’t Need to Change the Oil Filter Every Oil Change
- False! A clogged filter can reduce engine efficiency and increase wear.
Myth 2: All Oil Filters Are the Same
- Different filters offer varying levels of filtration and durability.
Myth 3: You Can Clean and Reuse Oil Filters
- Most oil filters are disposable and should be replaced, not cleaned.
Conclusion
The oil filter assembly is an essential component for maintaining engine health and performance. Regular replacement ensures clean oil circulation, protecting the engine from wear and tear. By understanding its function, benefits, and maintenance requirements, you can make informed decisions to keep your vehicle running smoothly.
Investing in a high-quality oil filter and following proper maintenance practices will save you from costly repairs and extend the life of your engine. 🚗💨
Follow us on Facebook for more parts.


Reviews
Clear filtersThere are no reviews yet.