-10%

Oil Separator PCV Valve Assembly VW Golf/Passat /Beetle/GTI/CC Audi Q5 2.0T/A3/A4/A5/Q5/TT 2008-2015 06H103495AC
Part No: 06H103495AC
Brand: VIKA
Fits: VW Golf/Passat /Beetle/GTI/CC Audi Q5 2.0T/A3/A4/A5/Q5/TT 2008-2015
KShs15,500 Original price was: KShs15,500.KShs14,000Current price is: KShs14,000.
Payment Methods:
The Oil Separator PCV (Positive Crankcase Ventilation) Valve Assembly is a crucial component in an internal combustion engine’s emission control system. It plays a significant role in managing engine blow-by gases, reducing emissions, and maintaining engine performance. This detailed guide will explain what the oil separator PCV valve assembly is, how it works, its benefits, common issues, and maintenance tips.
The Oil Separator PCV Valve Assembly is a combined unit that includes both the PCV valve and an oil separator. These components work together to manage the gases and oil vapors that are produced within the engine’s crankcase.
The oil separator PCV valve assembly performs several key functions:
The oil separator PCV valve assembly provides several important benefits:
While the oil separator PCV valve assembly is designed to be durable, it can experience several issues over time. Common problems include:
Recognizing the signs of a failing oil separator PCV valve assembly can help prevent more severe engine problems. Common symptoms include:
Regular maintenance and timely replacement of the oil separator PCV valve assembly are essential for ensuring optimal engine performance and emissions control. Here are some maintenance tips:
Replacing the oil separator PCV valve assembly typically involves the following steps:
Follow us on Facebook for more parts.
No account yet?
Create an Account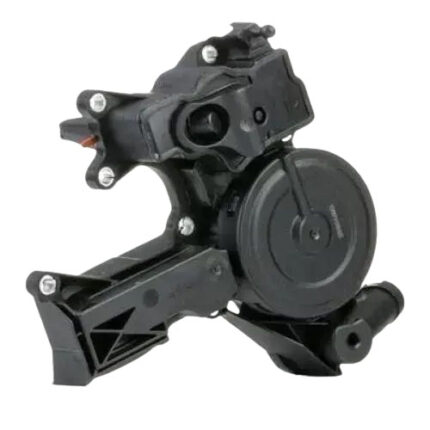
TEAM ONESTOP
Typically replies within minutes
Looking for parts?
Team Onestop
Car Parts Specialists
🟢 Online
WhatsApp us